How to Build Your First Arduino Robot: A Beginner's Success Guide
Arduino robots fascinate hobbyists and tech enthusiasts alike, yet many beginners hesitate to build their first project, believing it requires advanced engineering skills. Actually, creating your first Arduino-powered robot is more accessible than ever before. With basic components and some patience, you can construct a functional robot that responds to its environment.
Building your first robot offers more than just technical knowledge—it provides a hands-on introduction to programming, electronics, and mechanical design. Furthermore, the satisfaction of watching your creation move independently makes the learning process incredibly rewarding. This step-by-step guide will walk you through selecting the right robot type, gathering essential components, assembling the chassis, connecting the electronics, and programming your robot to perform basic functions. Importantly, we'll focus on practical solutions to common challenges beginners face when venturing into Arduino robotics. By the end of this guide, you'll have the confidence to build and customize your very own Arduino robot.
Choosing the Right Robot for Your First Build
Selecting the right robot design significantly impacts your learning experience with Arduino-based robotics. In the past, building robots was an expensive and complex endeavor, but today's availability of Arduino boards and accompanying kits has made robotics both fun and affordable.
Why a simple wheeled robot is ideal
Initially, a wheeled robot provides the perfect starting point for beginners. Four-wheel or two-wheel designs offer stability while teaching fundamental concepts. Wheeled robots require less complex programming and fewer components than walking or balancing robots, allowing you to focus on mastering basic principles.
A simple wheeled robot can be purchased as a kit for less than USD 25.00, making it an economical choice for first-time builders. This affordability lets you experiment without significant financial investment. Moreover, wheeled platforms provide excellent stability—unless you're specifically building an auto-balancing robot, which requires more advanced skills.
The building process itself becomes educational; you'll learn about motor control, power distribution, and basic sensor integration without getting overwhelmed by complexity. Consequently, you'll build confidence before moving to more sophisticated designs.
What features to include (obstacle avoidance, Bluetooth, etc.)
Once you've decided on a wheeled platform, consider which features will enhance your learning experience:
Obstacle avoidance: An ultrasonic sensor (like the HC-SR04) detects objects by sending sound waves and measuring their return time. This feature teaches you about environmental sensing and conditional programming.
Bluetooth control: Adding an HC-05 or HC-06 module allows smartphone control of your robot. You can download apps like "Bluetooth RC Car" to operate your creation remotely.
Line following: Five-channel infrared sensors enable your robot to follow designated paths, introducing you to more complex sensor integration.
Motor drivers: Essential components like the L298N driver shield allow proper motor control, as Arduino boards cannot directly power motors due to current limitations.
Specifically, obstacle avoidance robots represent an excellent first project. They combine movement with environmental awareness, teaching fundamental robotics principles. The ultrasonic sensor's reliability provides millimeter-precision measurements, though certain object shapes may deflect sound waves away from the sensor.
Understanding your project goals
Before purchasing components, clearly define what you hope to accomplish. If you simply want to learn basic Arduino programming and robotics concepts, a kit with minimal features might suffice. However, if you're planning to build something for a science fair or college project, you might need more capabilities.
Consider your budget constraints alongside your goals. Complete kits range from USD 25.00 to approximately USD 70.00, depending on included components and features. Additionally, think about expandability—will you want to add features later?
Your technical background also influences your choice. If you're new to programming and electronics, start with a straightforward design that includes clear documentation and community support. Instead of trying to build the most advanced robot immediately, focus on creating something simple that works reliably.
Many beginners find success by starting with a small prototype using LEGO pieces for the chassis, gradually adding components as their understanding deepens. This approach allows you to test concepts without committing to a permanent design.
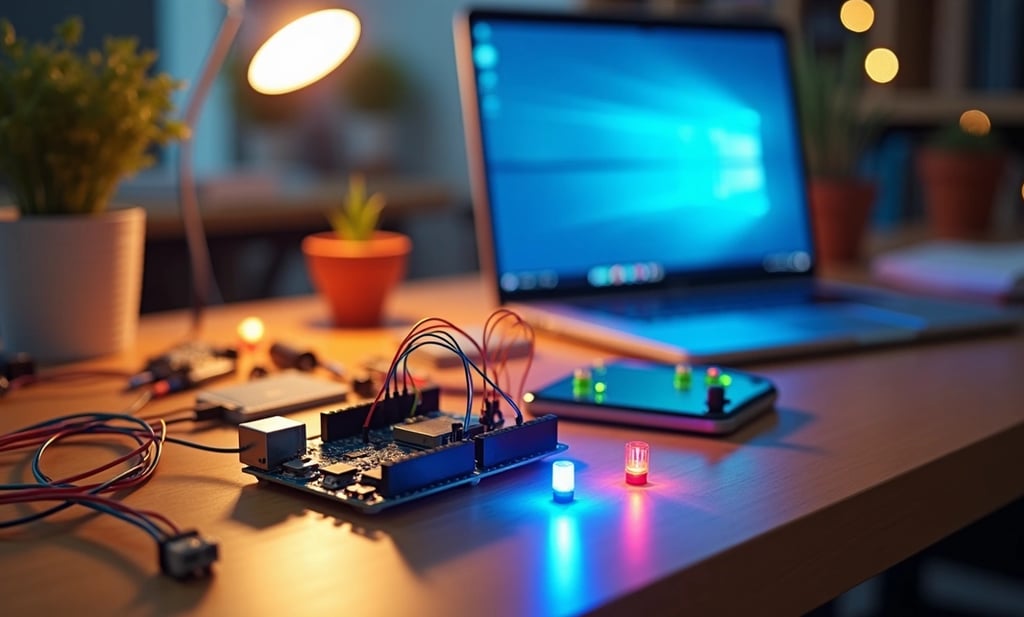
Essential Components and Tools You’ll Need
Building an Arduino robot requires a carefully selected set of components that work together as a functional system. Once you've decided on your robot type, gathering the right parts becomes your next critical step. This section breaks down everything you'll need to turn your robot vision into reality.
Arduino board and motor driver
The Arduino board serves as the brain of your robot. For beginners, the Arduino Uno R3 offers an ideal starting point—its accessibility, extensive documentation, and community support make it perfect for first projects. Alternatively, the Arduino Nano provides similar functionality in a smaller form factor, ideal for compact robots.
Your motors cannot connect directly to the Arduino since they require more power than the board can provide. For this reason, a motor driver is essential. The L298N dual H-bridge motor driver stands out as a popular choice. This controller can handle two DC motors simultaneously while allowing you to control their direction and speed through your Arduino code. For those seeking a simpler solution, motor driver shields that plug directly onto the Arduino offer convenience at a slightly higher cost.
Motors, wheels, and chassis
For your first robot, standard DC geared motors provide the best balance of power, control, and affordability. Look for motors in the 3-6V range with built-in gearboxes—these offer sufficient torque without requiring complex speed reduction systems. Most beginner robots function well with two motors (one for each side) in a differential steering arrangement.
Wheels with rubber tires provide better traction than plastic alternatives. A typical configuration includes two powered wheels and a caster wheel or skid at the front or back for balance. The caster allows smooth turning without requiring a third motor.
For the chassis, beginners have several options. Pre-made acrylic or plastic platforms offer convenience, while custom-cut wood or 3D-printed designs provide flexibility. Consider a two-layer design—motors and batteries on the bottom, with electronics safely mounted above.
Ultrasonic sensor and Bluetooth module
The HC-SR04 ultrasonic sensor remains the standard for obstacle detection in beginner robots. This affordable sensor measures distances by sending ultrasonic pulses and timing their return. With a range of approximately 2-400cm, it provides sufficient data for basic obstacle avoidance systems.
For wireless control, the HC-05 or HC-06 Bluetooth modules connect easily to the Arduino. These modules allow smartphone control through freely available apps, eliminating the need for physical controllers. The HC-05 offers both master and slave modes, making it slightly more versatile than the HC-06.
Power supply and battery options
Power management represents one of the most critical aspects of robot design. For portable operation, you'll need batteries that provide sufficient voltage and current. Options include:
AA battery packs: Simple and accessible, a 4-6 AA battery holder works well for beginners
9V batteries: Compact but typically lack sufficient current for motors
LiPo batteries: Offer excellent power-to-weight ratio but require special charging equipment
Power banks: USB power banks with 5V output can power both Arduino and motors with the right setup
Consider using separate power sources for your motors and logic circuits—this prevents motor noise from affecting your Arduino's performance.
Breadboard, jumper wires, and tools
Beyond the main components, you'll need:
A small breadboard for prototyping connections
Male-to-male, male-to-female, and female-to-female jumper wires
Basic tools including small screwdrivers, wire cutters/strippers, and pliers
A soldering iron and solder (for permanent connections)
Electrical tape or heat shrink tubing for insulating connections
A multimeter for troubleshooting and testing
First-time builders often underestimate the importance of quality connectors and wiring. Poor connections cause frustrating intermittent problems that can be difficult to diagnose. Invest in quality jumper wires and consider a wire stripper tool if you'll be making custom connections.
Remember that while individual components might seem straightforward, their integration requires careful planning. Creating a wiring diagram before assembly saves considerable time and prevents potential damage to sensitive components.
Step-by-Step Assembly of the Robot
The assembly phase transforms separate components into a functional Arduino robot. With careful attention to detail during this process, you can avoid common problems like loose connections or imbalanced weight distribution that might affect your robot's performance.
Building the chassis and mounting motors
First, prepare your chassis by removing any protective backing from the acrylic plates if you're using a kit. Examine the chassis to locate the mounting points for motors and other components. If necessary, drill additional holes for components not accounted for in the original design.
Begin by preparing the motors for installation. Solder two wires to each motor terminal—typically one red (positive) and one black (negative). Consider using heat-shrink tubing over these connections to prevent short circuits and strengthen the joints.
Next, attach the motors to the chassis using the appropriate mounting method. Most robot kits use one of two approaches:
Acrylic mounts that slide through slots in the chassis
Aluminum mounting blocks that attach to the motors first, then to the chassis
Secure the motors firmly with the provided screws, ensuring they're positioned symmetrically on each side of the chassis for balanced movement.
Installing the Arduino and motor driver
Mount the L298N motor driver to the chassis first, as it will connect directly to the motors. Use spacers or standoffs to elevate it slightly above the chassis surface, allowing for proper ventilation. Secure it with screws in the designated mounting holes.
For the Arduino board, similar standoffs are essential to prevent the board's underside from contacting the chassis and causing short circuits. Position the Arduino in a location that allows easy access to the USB port for programming updates. Most builders place the Arduino above or beside the motor driver, ensuring enough clearance for connecting jumper wires between them.
Attaching wheels and caster
Press-fit the wheels onto the motor shafts, aligning the "D-shaped" opening on the wheel with the flat side of the motor shaft. Push firmly until the wheels are securely attached but can still rotate freely without rubbing against the chassis.
Install the caster wheel at the front or rear of the chassis (opposite the drive wheels) using the provided spacers and screws. The caster provides balance and allows smooth turning without requiring additional motors. Position it so the robot sits level when placed on a flat surface.
Mounting the battery and switch
Select an appropriate location for your battery holder—typically the bottom or rear of the chassis to balance weight distribution. Secure it with screws or double-sided tape, ensuring it doesn't interfere with moving parts.
For the power switch, drill a hole in an accessible location on the chassis, usually the side or rear. Mount the switch so it can be easily toggled without having to flip the robot over. Connect the positive wire from the battery holder to one terminal of the switch, and run another wire from the other switch terminal to the power input on your motor driver.
Throughout the assembly process, keep wires organized and routed away from moving parts to prevent tangles or disconnections during operation.
Wiring and Connecting the Electronics
Proper wiring determines whether your Arduino robot functions correctly or becomes a frustrating puzzle of intermittent problems. Once all components are mounted, establishing reliable electrical connections becomes your primary focus.
Connecting motors to the motor driver
The L298N motor driver creates a crucial bridge between your Arduino and motors. First, connect your motors to the driver's output terminals - Motor A connects to OUT1 and OUT2, and Motor B to OUT3 and OUT4.
For controlling direction, wire the Arduino digital pins to the L298N input pins as follows:
IN1 and IN2 pins control Motor A's direction (connect to Arduino pins 7 and 8)
IN3 and IN4 pins control Motor B's direction (connect to Arduino pins 4 and 5)
ENA and ENB pins regulate motor speed via PWM (connect to Arduino pins 9 and 3)
Remember, the L298N causes a voltage drop of about 2V - a 12V supply will deliver approximately 10V to your motors.
Wiring the ultrasonic sensor
The HC-SR04 ultrasonic sensor requires four connections:
VCC to Arduino 5V
GND to Arduino GND
Trig to Arduino digital pin 11
Echo to Arduino digital pin 12
This arrangement allows the sensor to detect obstacles by sending ultrasonic pulses and measuring their return time.
Bluetooth module setup
When connecting the HC-05 Bluetooth module, note that its logic level is 3.3V although it can be powered from 3.6V to 6V. Because of this voltage difference, the connection between Arduino's TX pin (5V) and the module's RX pin requires a voltage divider to prevent damage.
A simple solution uses a 1K resistor between Arduino's TX and the module's RX, plus a 2K resistor between the module's RX and ground. Alternatively, connect the Bluetooth module to any digital pins using SoftwareSerial to avoid interference during code uploads.
Power distribution and safety tips
Effective power management prevents issues like motor noise affecting your Arduino. Consider these safety practices:
Always disconnect power before making wiring changes to prevent accidental shorts
Use standoffs or insulation to prevent circuit boards from contacting the chassis
Add capacitors near motors to reduce electrical noise
Tie back loose hair and remove jewelry when working with electronics
Remember that components should never be hot to touch - warmth often indicates a problem with your circuit.
Programming and Testing Your Robot
With your robot assembled and wired, bringing it to life requires programming skills. The software side of robotics transforms inert components into an intelligent system capable of responding to its environment.
Installing Arduino IDE and libraries
Start by downloading Arduino IDE from the official website. After launching the installer, follow the step-by-step process appropriate for your operating system. On Windows, double-click the .exe file and follow the installation guide. For macOS, drag the Arduino IDE application into your Applications folder after opening the .dmg file. Linux users need to make the AppImage file executable by changing permissions.
Once installed, you'll need specialized libraries for your robot's components. To add libraries, navigate to Tools → Board → Boards Manager in the IDE. For ultrasonic sensors, the NewPing library provides accurate readings. Servo motors require the Servo library, already included with Arduino IDE.
Uploading basic movement code
First, connect your Arduino to your computer via USB. Select your board type from Tools → Board and identify the correct port from Tools → Port. Create a basic movement sketch with these essential functions:
void goForward() {
rightServo.write(0);
leftServo.write(180);
}
void goBackward() {
rightServo.write(180);
leftServo.write(0);
}
Upload this code by clicking the arrow button in the IDE. After successful upload, disconnect the USB and power your robot with batteries.
Adding obstacle avoidance logic
Next, integrate obstacle detection using the ultrasonic sensor. The basic code structure involves:
Reading distance using sonar.ping_cm()
Creating conditional statements based on distance readings
Triggering appropriate movement responses
For instance, when detecting an object within 20cm, program your robot to stop, check distances to the right and left, then turn toward the clearer path.
Testing sensor readings
Monitor your sensor data through the Serial Monitor (Tools → Serial Monitor). Ensure the baud rate matches what's specified in your code (typically 9600). Test ultrasonic sensors by placing objects at various distances and verifying readings match actual measurements.
Debugging common issues
If your robot behaves unexpectedly, adopt a systematic approach:
Verify port selection if code fails to upload
Check for syntax errors highlighted by the IDE
Use Serial.println() to track variable values during operation
Confirm power supply adequacy if motors don't respond
Press the reset button if the board gets locked in bootloader mode
Remember that troubleshooting is iterative—identify issues one by one rather than attempting to fix everything simultaneously.
Conclusion
Building your first Arduino robot certainly represents an achievable goal, even for those with limited technical experience. Throughout this guide, we've walked through every essential step, from selecting the right robot design to programming your creation for autonomous movement.
The journey begins with a simple wheeled platform, which offers stability and straightforward construction while teaching fundamental robotics concepts. After gathering components like the Arduino Uno, L298N motor driver, and ultrasonic sensors, you can assemble these elements into a functional robot that responds to its environment.
Most importantly, each step in this process builds valuable skills across multiple disciplines. The wiring phase develops your understanding of electrical circuits, while programming teaches logical thinking and problem-solving. Additionally, the chassis construction introduces basic mechanical design principles that apply to countless other projects.
Common challenges will undoubtedly arise during your build. However, the systematic troubleshooting approach outlined above will help identify and resolve issues one by one. Remember that persistence pays off—many successful robotics enthusiasts faced similar obstacles with their first projects.
The satisfaction of watching your creation move independently makes all the effort worthwhile. Your first Arduino robot serves as more than just a technical achievement; it becomes a foundation for future exploration. Consequently, many beginners find themselves quickly planning more advanced projects after mastering these basics.
Take what you've learned here and start building today. Arduino robotics offers an engaging way to develop practical skills while creating something tangible and interactive. Though your first robot might be simple, it represents the beginning of an exciting journey into the world of electronics, programming, and mechanical design.
Explore
Your source for electronics and innovation.
Connect
Learn
info@circuitdairy.com
© 2025. All rights reserved.